
Date added: 16.10.26
A beginner’s guide to disk imaging
Old disks don't last forever. This step-by-step guide shows you how to create a disk image with IsoBuster and look after your digital media.
Contributor:
Title:
A beginner’s guide to disk imaging
Last updated:
02.11.26
Description:
Learn how to create a disk image of a CD, DVD or USB with free IsoBuster software, and protect your digital files from loss and obsolescence.
Tags:
Experiment:
Why your old disks need rescuing
That box of CDs, floppy disks and USB sticks in the cupboard might hold photos, writing, artwork, or records you can't replace. But files on physical storage media don't last forever. They're at risk from:
- hardware obsolescence – many modern computers no longer have CD or floppy disk drives
- hardware degradation and failure – disks and drives wear out over time
- bit rot, data loss, and corruption – data slowly decays, even when a disk is sitting untouched
- software and file system obsolescence – the programs needed to open your files may disappear.
The good news is anyone can save their digital content, and a great place to start is by making a disk image. This guide shows you how, step by step.
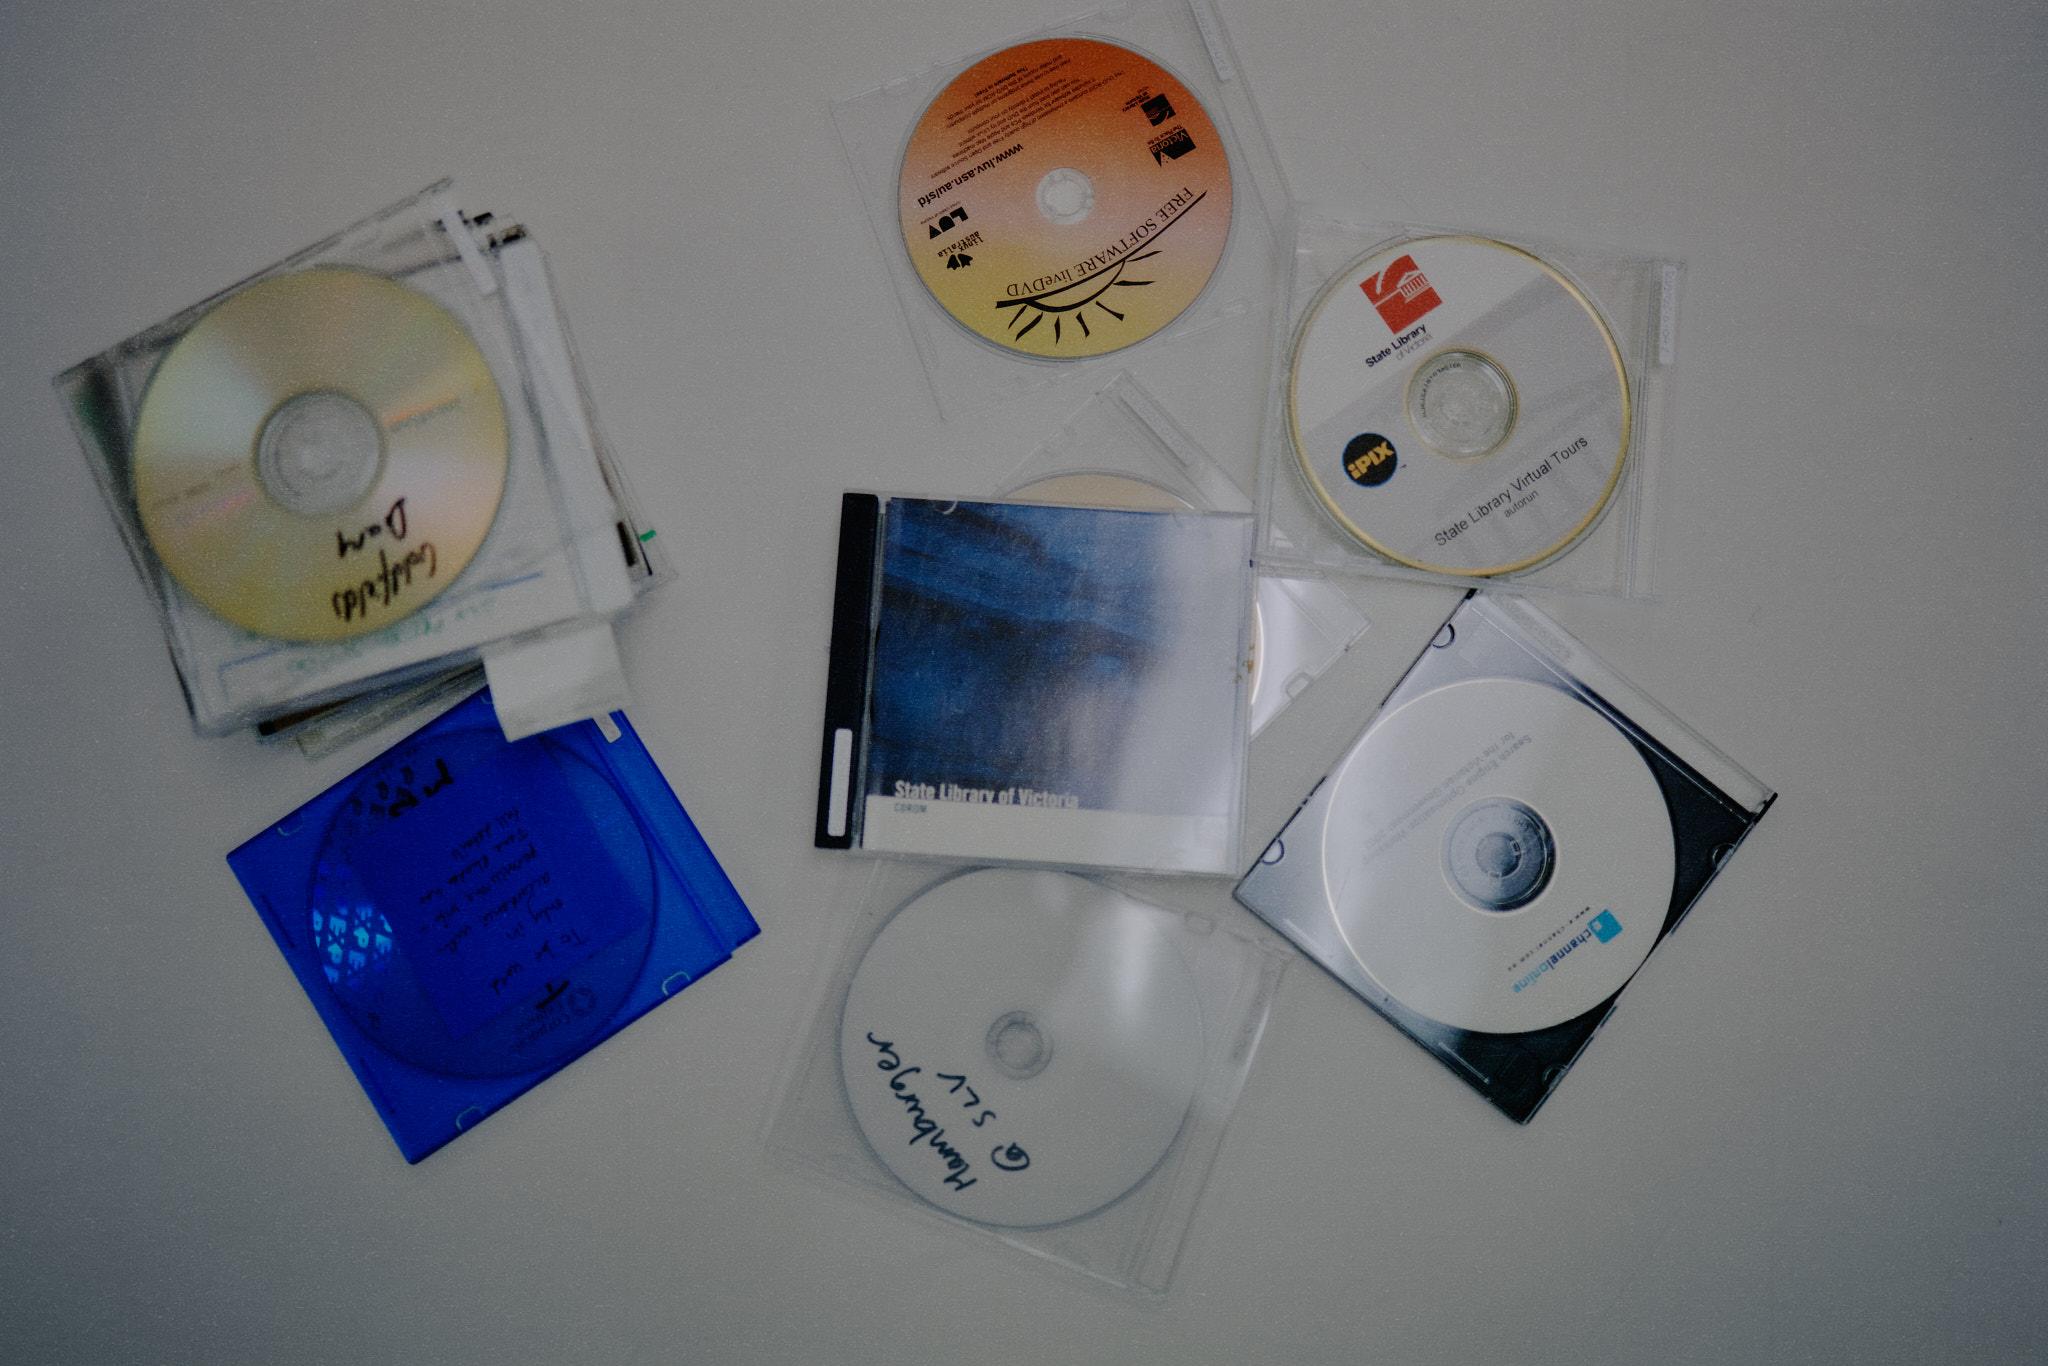
What is a disk image?
A disk image is a single file that's an exact digital copy of a storage device, such as a CD-ROM, DVD, USB, floppy disk or hard drive.
Unlike simply copying the files from a storage device, a disk image keeps your files together with their original file system and a lot of useful metadata.
Why make a disk image?
A disk image lets you:
- make a copy of unique digital material for preservation and study
- keep accessing your content even if the original disk or drive fails
- explore the content safely, without risk of changing the original data
- understand where the material came from and how it was organised, by keeping creation and modified dates, and recording any lost or hidden files
- run the content in an emulator (software that mimics an older computer)
- keep features specific to the media or file system, such as DVD menus.
The 3-2-1 rule for keeping digital files safe
Digital material is surprisingly fragile. It relies on technology that changes quickly and can fail – by accident or by design. If you've ever lost an unsaved document or had a hard drive fail, you'll know how easy it is to lose your work.
To prevent data loss, digital archivists follow the 3-2-1 rule:
- keep 3 copies of your files
- on 2 different types of storage media
- with at least 1 copy stored offsite, in a different location.
Disk imaging is a simple way to start making those copies.
Before you start
In this guide, we use IsoBuster, a disk imaging program for Windows. It has free and paid versions – the free version has everything you need. Download IsoBuster from the official website.
IsoBuster is just one option. You'll find other disk imaging tools listed under 'Further resources' at the end of this guide.
Before you begin, check:
- your device's condition and type – do you have the right hardware (such as a CD or floppy disk drive) to read it?
- the type of media and file system – some kinds need a different approach. For example, audio CDs (formatted as Compact Disc Digital Audio, or CD-DA) can't be imaged as an ISO file, instead the audio can be extracted to WAV file format.
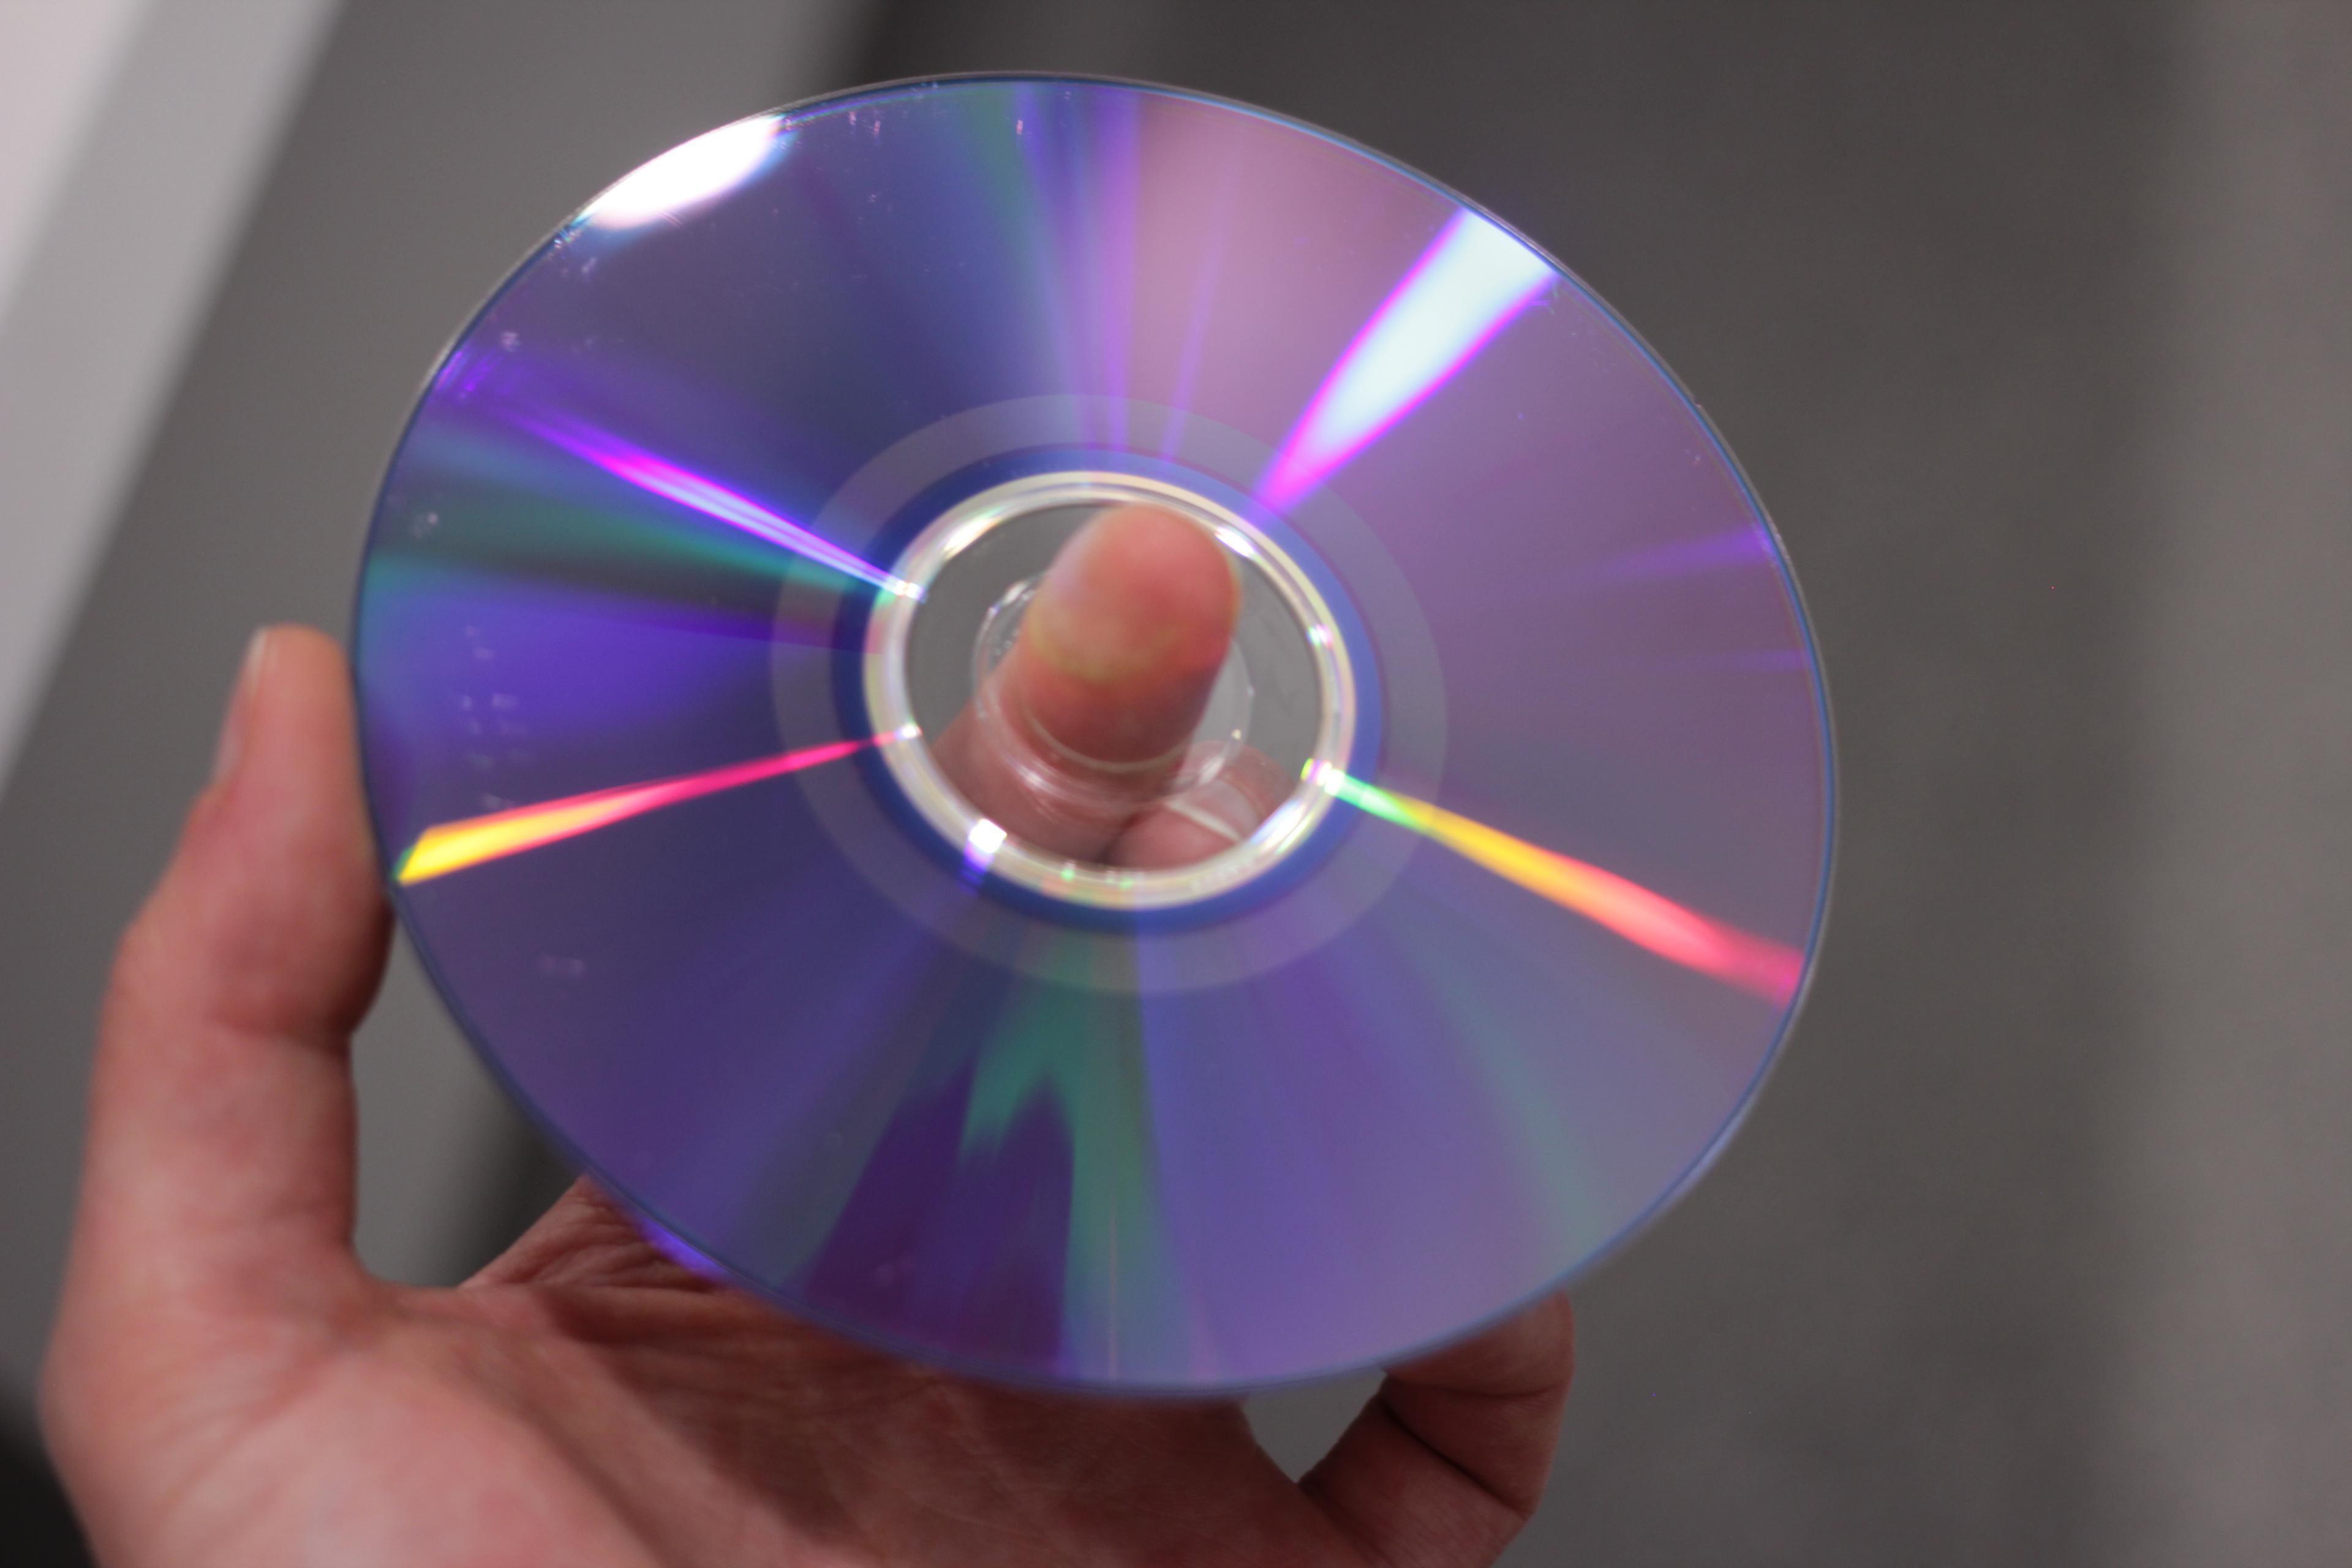
We'll work with a data CD and create an ISO file – the most common type of disk image. Let's get started!
How to create a disk image with IsoBuster
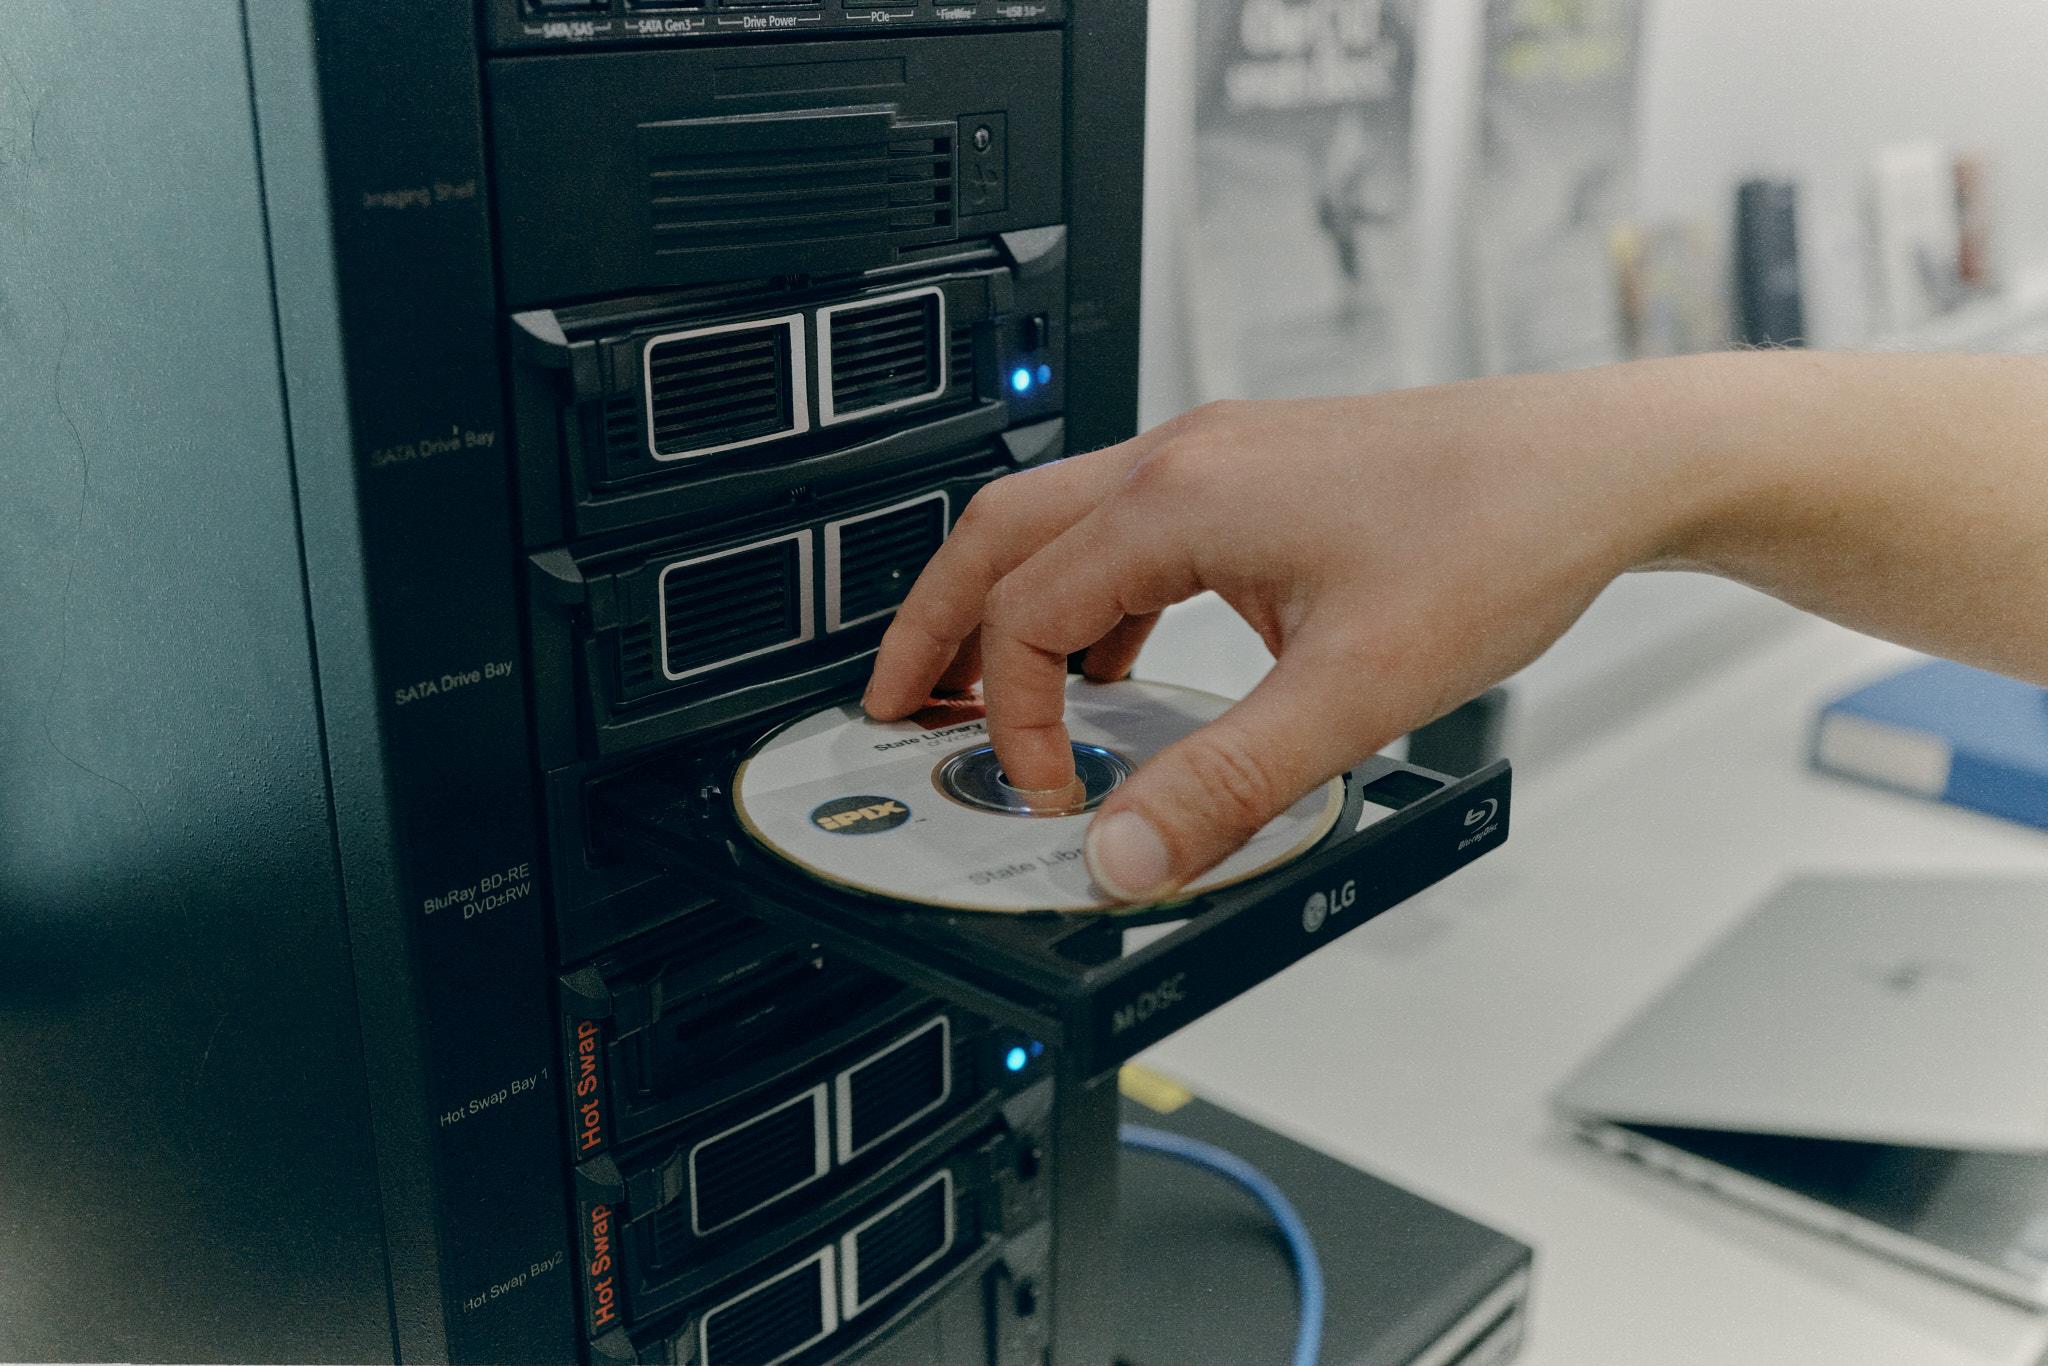
1. Insert your storage media.
Put your CD (or other media) into the drive, or plug in your device.
2. Open IsoBuster.
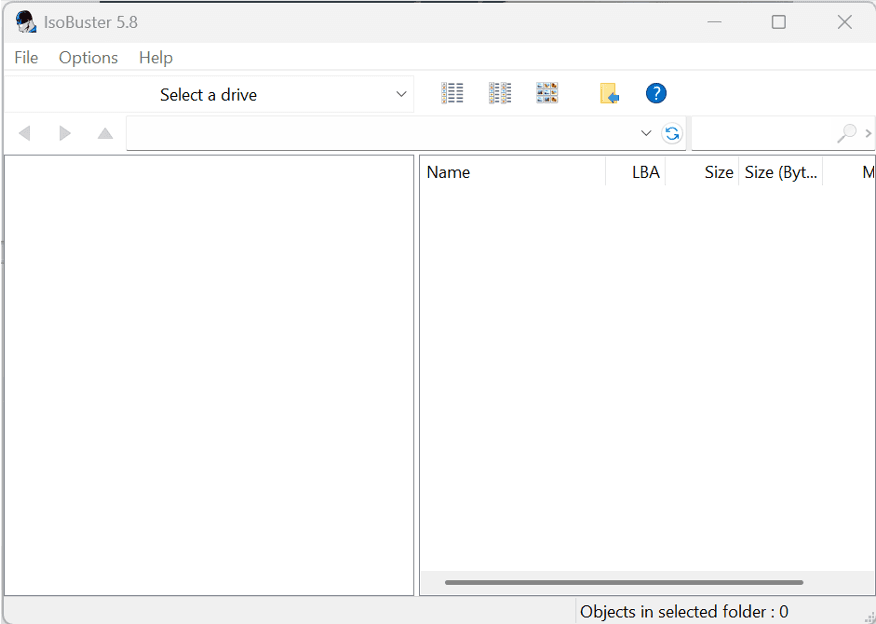
Step 3. Select the correct drive.
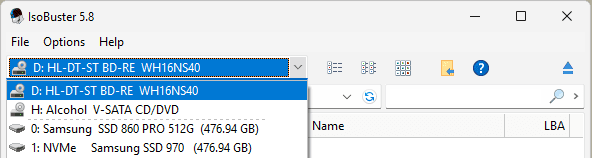
Use the drop-down menu at the top of IsoBuster. The device name and storage size will help you find the right one. You can also check File Explorer to see which letter your computer has given the drive – in this example, the CD drive is 'D'.
Once you've chosen the right drive, you'll see a list of its tracks in the window below.
4. Choose the image type.
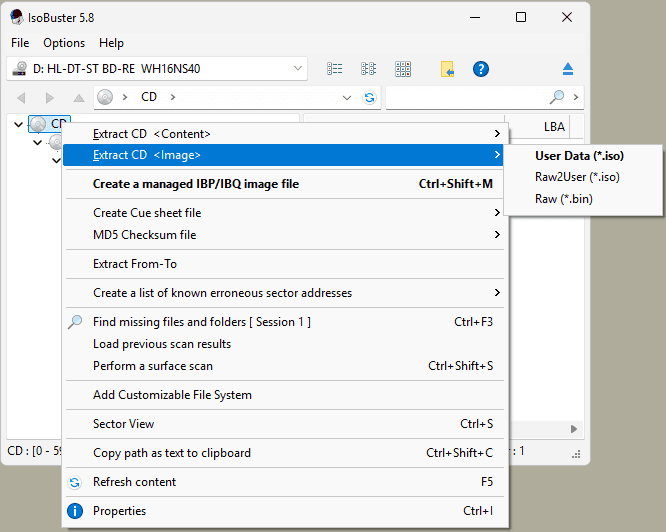
Right-click the top level of the drive and select Extract CD <Image>, then choose User data (*.iso) from the list.
5. Choose where to save it.
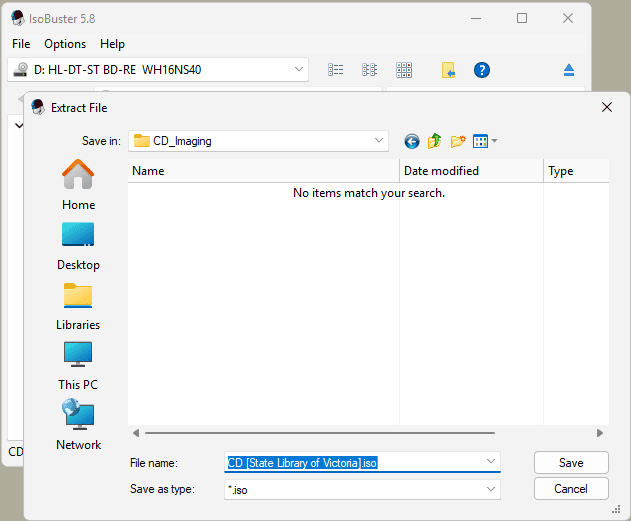
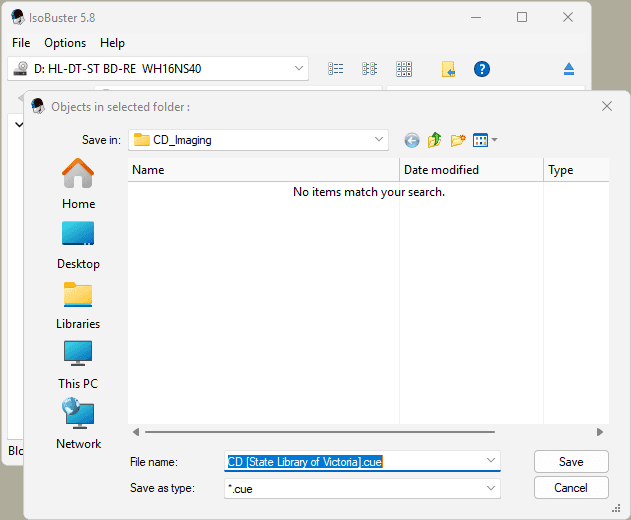
Pick a folder for your disk image and give the file a short, meaningful name.
6. Click Save.
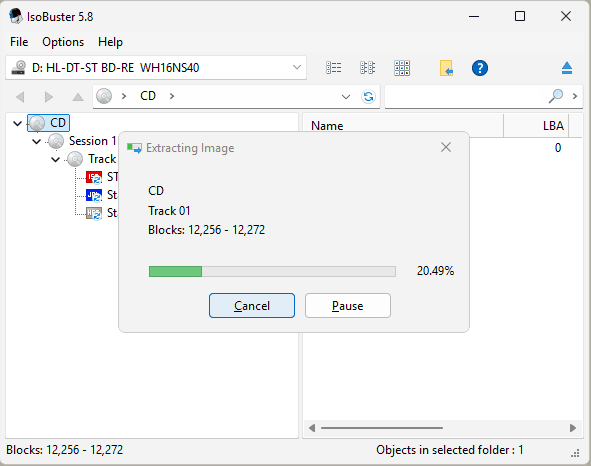
And wait while IsoBuster creates your disk image.
7. Save the .cue file.
When the image is finished, IsoBuster will ask you to save a .cue file. This small file holds useful metadata about the disk's layout, so click Save.
8. Eject your media.
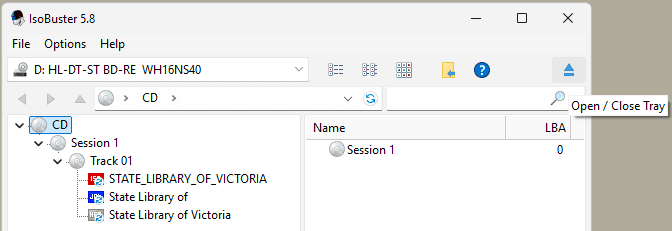
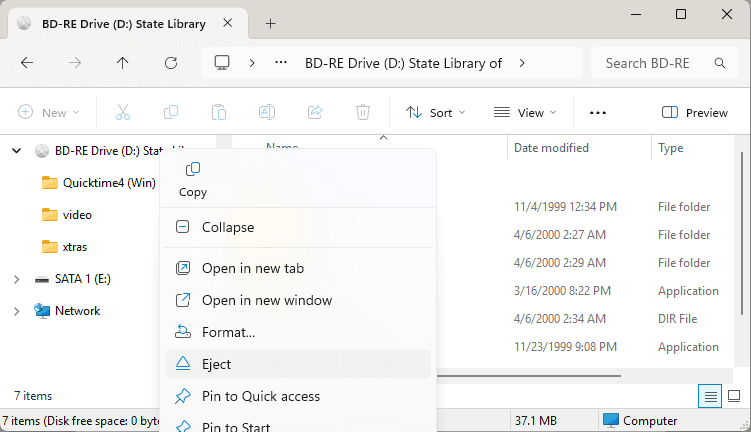
Your disk image is done, so you can safely remove the original. Either click the eject button in IsoBuster, or right-click the device in the left-hand pane of File Explorer and select Eject.
Check that your disk image works
Now for the satisfying part – opening your disk image to make sure everything was copied.
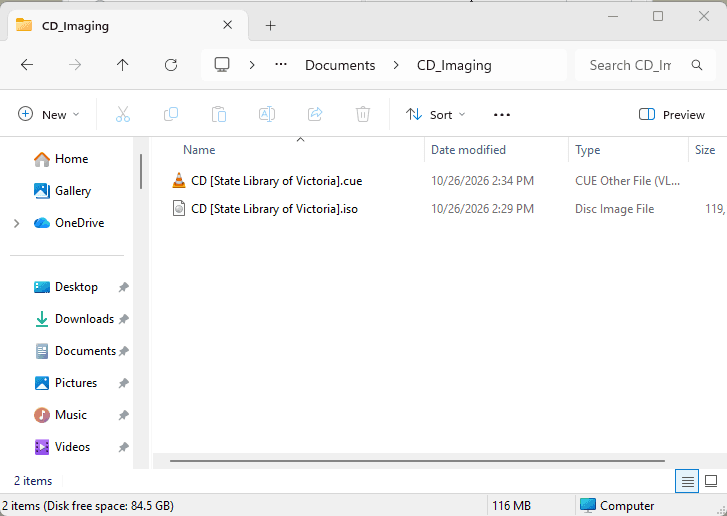
1. Find your disk image.
Open the folder where you saved it.
2. Mount it.
Right-click the .iso file and select Mount.
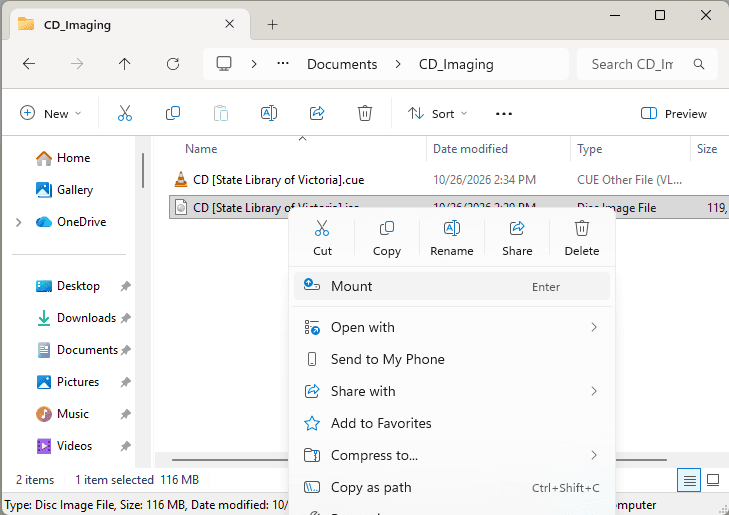
3. Explore the contents.
Your disk image now appears in File Explorer, and you can browse it just as if the original CD were still in the drive.
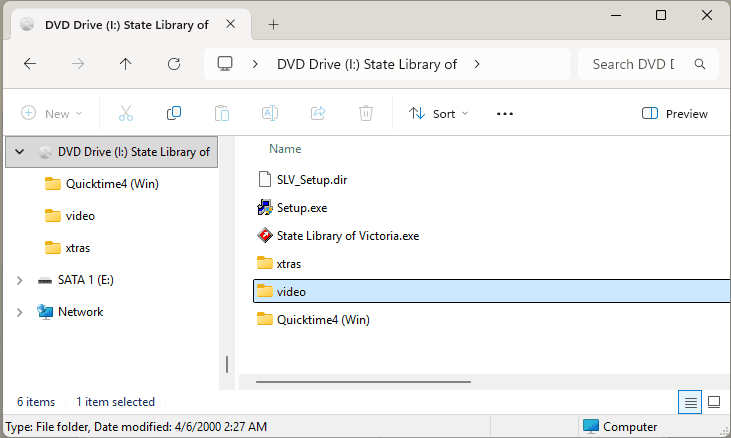
4. Eject it when you're done.
Right-click the drive in File Explorer and select Eject, just as you would with a physical disk.
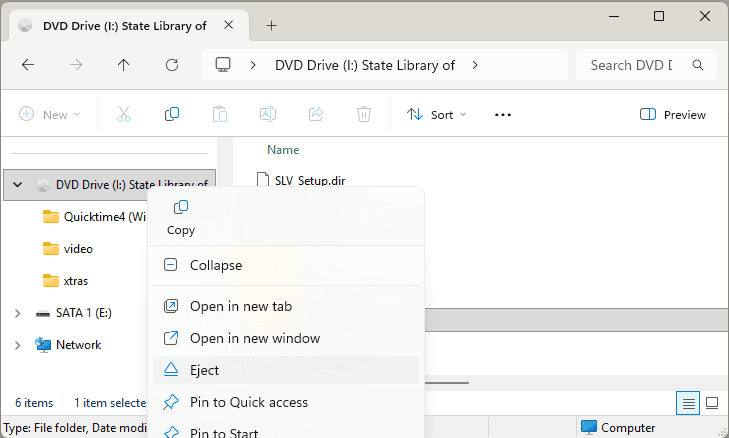
Troubleshooting
If your disk image won't mount or doesn't look right, check the format and file system of your original media. Some media can't be imaged this way. For example, you can't create an ISO disk image of an audio CD (formatted as Compact Disc Digital Audio, or CD-DA).
What to do with your disk image
Record information about it, so it stays useful and meaningful in the future:
- Give your disk image a short, informative file name, and avoid acronyms where you can.
- Decide where to keep more detailed information (metadata) about the image and its contents. A simple README.txt file saved alongside it works well. For a larger collection, try a spreadsheet.
Assess what's inside:
- Look through the contents and decide what you want to keep or discard.
- Decide whether to keep the whole disk image or just copies of individual files. This depends on how you value the content and what your needs are.
- Check whether the contents need anything special to work, such as particular software or an older computer setup. If so, record those details, or find the software or environment you need.
Look after your files by following the 3-2-1 rule: 3 copies, on 2 types of storage media, with 1 copy offsite.
How to care for your physical storage media
Even after you've made a disk image, it's worth looking after the originals:
- Store them somewhere cool and dry.
- Keep them away from heat and direct sunlight, magnets, and dust, dirt, mould, and other contaminants.
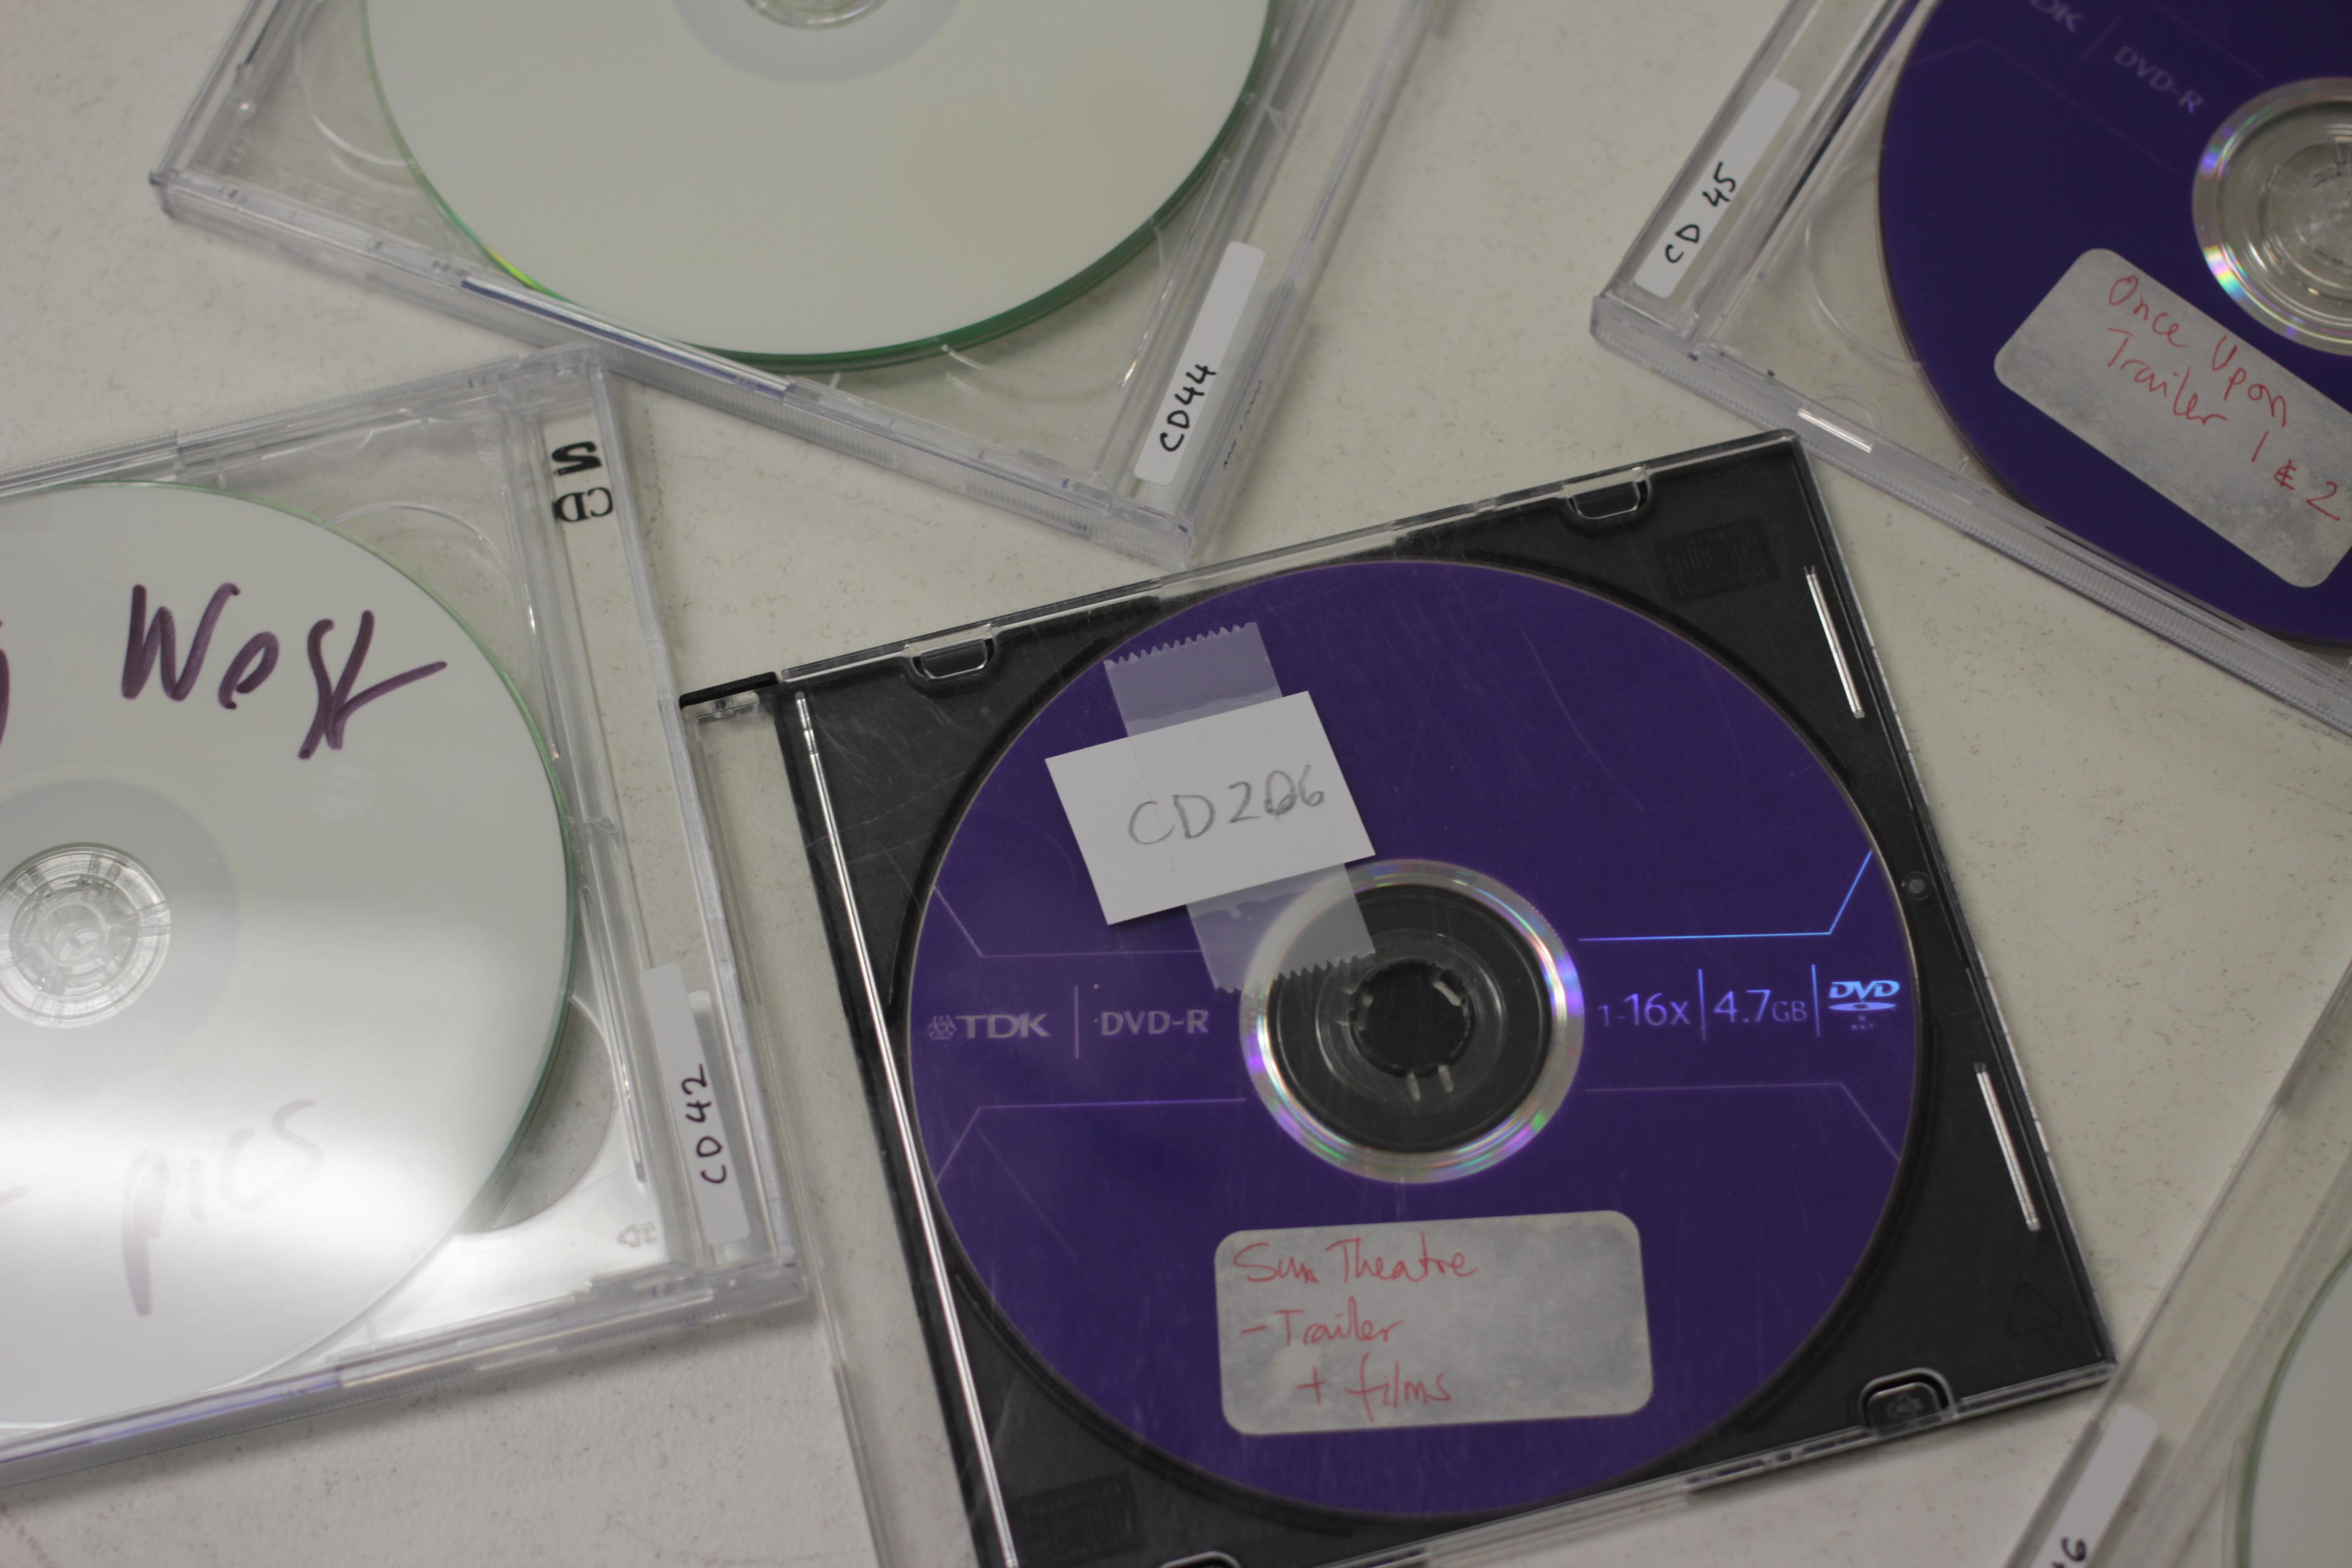
- Protect them from scratches and knocks. Keep CDs and DVDs in plastic cases or paper sleeves, and hard drives and USBs in anti-static bags or their original packaging.
- Label the case, sleeve, bag, or box – not the device itself. Writing on CDs and DVDs or sticking labels on them can damage them, and sticky labels can degrade or fall off over time.
Further resources
IsoBuster
Other disk imaging software
- Alcohol 120%
- FTK Imager
- Guymager (for Linux)
Further reading
- Towards best practices in disk imaging: a cross-institutional approach by Eddy Colloton, Jonathan Farbowitz, Flaminia Fortunato and Caroline Gil, Electronic Media Review, volume six (2019–20)
- Taking a disk image by Jess Conway, A Little Bit of Curation: a beginner’s guide to processing obsolete digital media with BitCurator blog
- Disk imaging decision factors by Digital Archival traNsfer, iNgest, and packagiNg Group (DANNNG)
- Disk imaging for preservation: part 1 by Leigh Anne Gialanella, University of Michigan Library blogs
- Compact disc formats explained by Mike Collins, Sound on Sound
- Revisiting State Library Victoria in Windows 98 by Dilan Gunawardana and Susannah Bourke, SLV LAB